
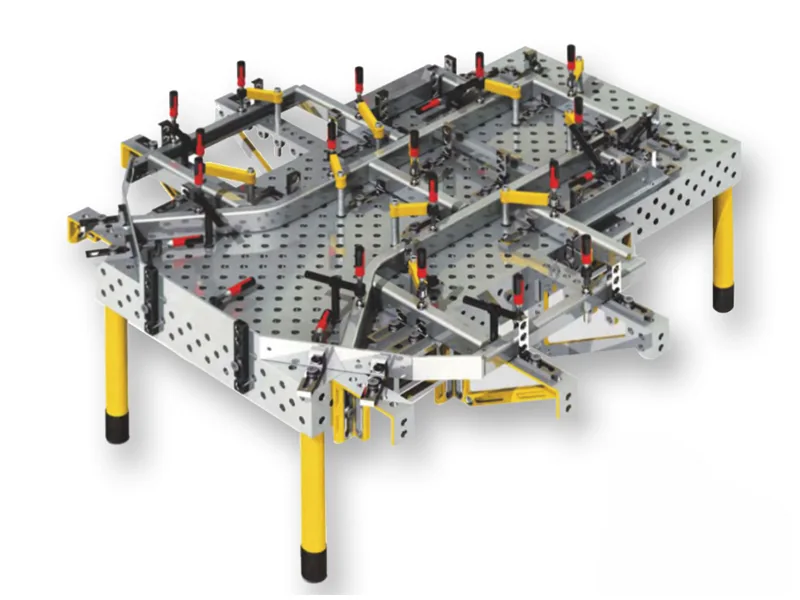
Squaring comes before clamping
A square frame that leaves the table crooked usually was not crooked when it was welded — it was crooked when it was located. Clamping force does not fix a position; it holds whatever position the part already has. If that position was set by eye against a loose reference, the clamps faithfully preserve the error.
So the sequence on a 3D table always runs locating first: stops and angle squares set the datums, the part comes against them, the squareness is checked, and clamping holds the checked state. The pipe article runs the same order for round work; squares just make the datums easier to see.
The locating tools and what each does
| Tool | What it sets |
|---|---|
| Locating stops | One linear datum: the part edge rests against it, fixing position along one axis |
| Angle squares | A second datum at 90 degrees to the first, turning two edges into a square corner |
| Stop-and-clamp combinations | Locate and hold in one unit, useful where access is tight |
| Connecting pins and bolts | Mount the stops and squares to the grid at known positions |
The squaring sequence on the grid
- Fix the locating stops along one grid line — this is the first datum edge.
- Fix an angle square at one end, perpendicular to the stops — this is the second datum.
- Bring the part against both datums; the corner between its two edges meets the angle square.
- Check the diagonal or the square across the assembly before full clamping.
- Clamp at four to six points, then tack, then re-check, then weld.
Two datum edges make a corner
A 90-degree corner comes from two datums, not from measuring after the fact. The stops give the first edge a straight reference; the angle square gives the second edge its right angle. Once both are set and the part rests against them, the corner is as square as the setup — and the setup is as square as the machined datums.
This is also why the hole grid matters for squaring: holes at known spacing mean the angle square mounts square to the stops without shimming, and the corner repeats when the setup is rebuilt.
Repeatable setups: same holes, same stops
The quiet benefit of a grid is that setups are recorded by position. Note which holes the stops and squares occupied, and the next identical frame locates in minutes — or the next operator rebuilds the setup without the first one standing nearby. Shops that run the same family weekly often mark or log the hole positions per product; the grid makes that note executable.
Final checks before full welding
- Diagonal check across the frame — equal diagonals mean square.
- Restraint plan: where shrinkage will pull, and which clamp restrains it.
- Tack sequence opposite the weld to hold the geometry.
- Re-check squareness after tacking, before the permanent welds.