
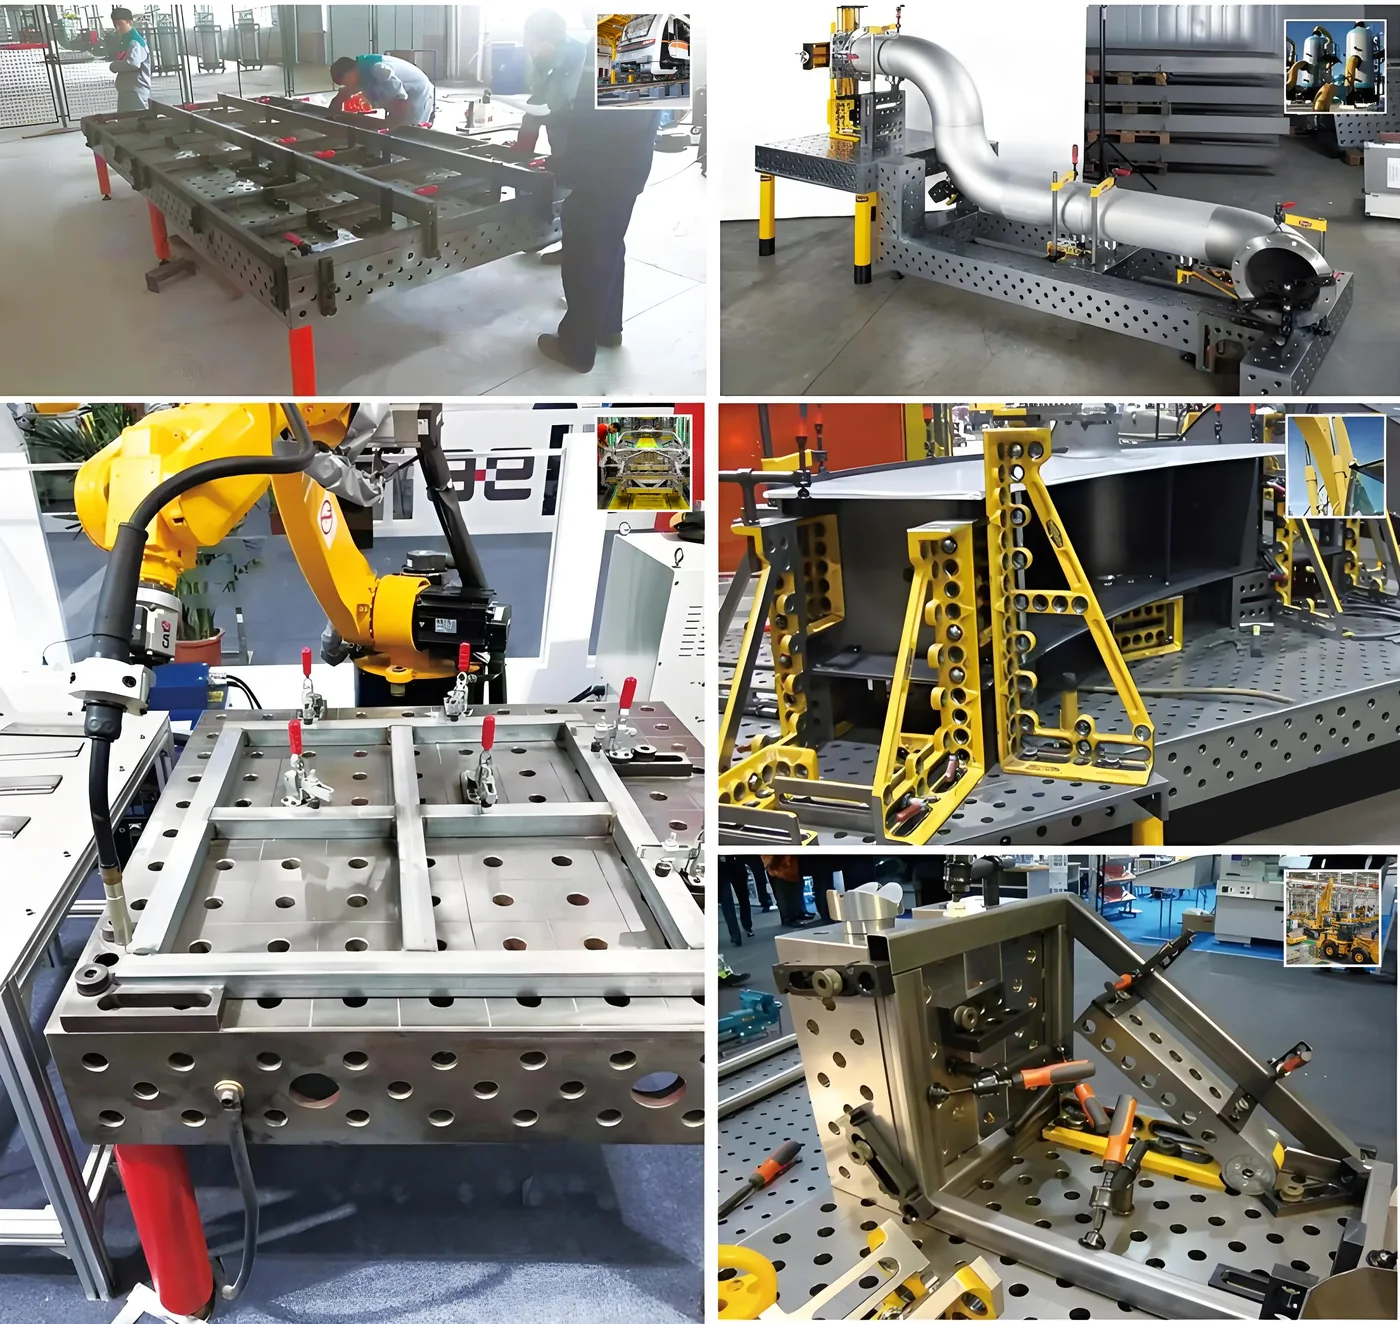
Why order matters more than force
A common instinct on a new setup is to reach for the clamps first: throw the part on the table, screw the clamps down, then start adjusting. The part ends up held firmly — and crooked. Undoing it means releasing every clamp anyway, so the force spent up front achieved nothing except a false sense of progress.
The modular table makes the right order easy because every accessory mounts into the grid at a known position. Supports, stops, squares and clamps all have their places, and the sequence below is the same for a small bracket as for a long frame.
Support: get the part resting before anything is set
The part has to rest before it can be located. Support blocks and U-shaped square boxes carry it at working height, positioned so the weight sits on the supports rather than hanging between them. Flexible parts need supports close enough that the datum edges stay in contact along their full length.
Get this wrong and everything downstream compensates: a part resting on two points will rock, and every reading taken while it rocks is a reading of the rock, not the part.
Locate: set the datums with stops and angle squares
With the part resting, the locating elements set its position. Stops along one grid line give the first datum edge; an angle square perpendicular to them gives the second. The part comes against both — and its position on the table is now defined by machined datums rather than by eye.
On a five-face platform the side faces extend this: stops mount vertically for tall work, and long parts reference along the table edge. The full squaring method, including the two-datum corner, is covered in the squaring guide; the rule here is simply that datums come before force.
Check: measure before the first tack
This is the cheapest step in the whole sequence and the most often skipped. Before any clamp bites hard, confirm the position: diagonals on a frame, the seam line on pipe, the feature positions against the drawing. Adjusting now costs seconds; adjusting after tacking costs grinding.
The check also catches support problems while they are still support problems. If the part rocks or the readings drift between checks, the fix is under the part — not in the weld sequence.
Clamp lightly, then tack: holding what has been set
Clamps come on light. Their first job is only to keep the part against the stops while it is tacked — not to force straightness that the locating did not set. Clamp hard too early and the force can lift a datum edge off its stop, quietly undoing the position that was just checked.
Then tack. Tacks placed opposite the expected shrinkage hold the geometry the setup created. After tacking, re-check: the tacks are now the fixture, and confirming them before the permanent welds is the last cheap correction in the sequence.
How many clamp points a frame needs
The count comes from the clamp-plan sketch rather than a rule of thumb: every point where shrinkage could pull the part out of position wants a clamp, and every datum edge wants a stop. Sketch first, count second, and the kit sized in the accessories guide matches the work.
| Clamp point | What it holds |
|---|---|
| Four to six points | The typical hold for a rectangular frame, placed on the stiff members |
| Intermediate points | Added on long members so the middle does not pull away from the datum |
| Side-face clamps | Hold tall work vertically while the top stays open for the torch |
| One or two spares | For the member that needs an extra hold once the weld starts |